
The Four-Flap Graft
Larry A. Stein, Ph.D. and Julian W. Sauls, Ph.D.
Professors and Extension Horticulturists
Texas Cooperative Extension
The four-flap graft is an easy-to-do, highly successful grafting procedure for both amateurs and professionals. It is ideal for small-caliper trees up to an inch in diameter. The procedure is sometimes called a "banana graft" because the four bark flaps not only peel but also cover the scion much like a banana. This presentation is adapted from an original Extension publication by Sammy Helmers and Austin Stockton.
In this presentation, 22 images are used to illustrate the finer points of the technique. Each image is presented with the text as a thumbnail version for the speed of downloading. Click on the thumbnail image to see it as a full-screen version, then click "Back" to return to the text and thumbnails.
Four-flap grafting is most successful when the scion and stock are about the same diameter. The best fit is obtained when the scion is slightly larger than the stock. The best time to graft is April to May when the stock is actively growing and the bark "slips" freely. Scion wood must have been cut in January or February and placed in cold storage prior to bud break. The stored wood should not be allowed to dry out, or grafting success will suffer.
Materials needed for four-flap grafting include dormant graftwood, aluminum foil, polyethylene bags, a sharp knife, budding tape, pruning shears, rubber bands and common household glue. All of the equipment easily fits into an apron.
 |
 |
|
Common tools used in grafting. |
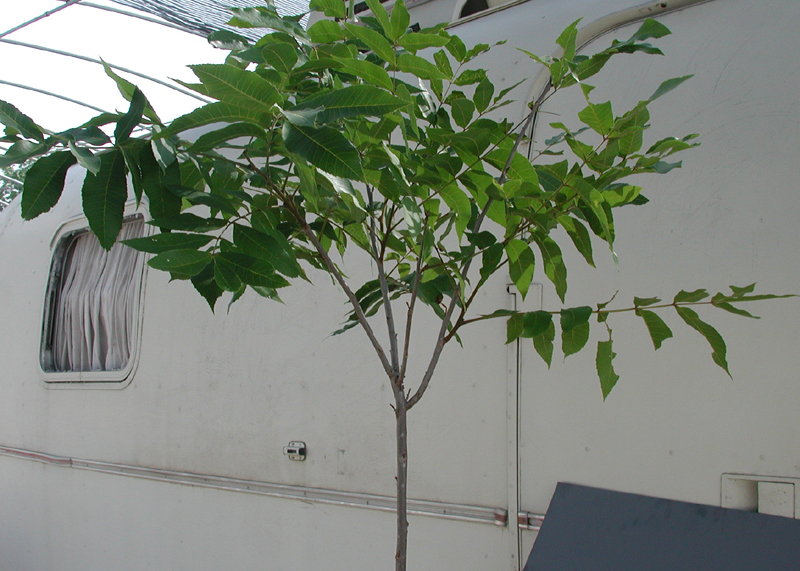
Seedling pecan tree. |
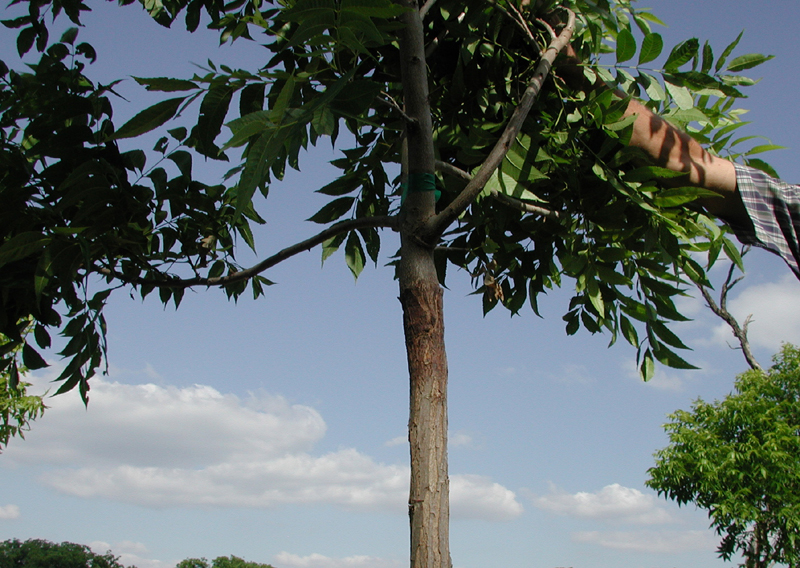
Select a young tree with either its main trunk or a branch about one-half to an inch in diameter. If livestock or deer are expected to be present, the grafting height should be 7 or 8 feet above ground; otherwise, select a comfortable working height. If there are side branches below the point that you plan to graft, cut them back to about a foot in length, as they will support the plant while the graft heals.
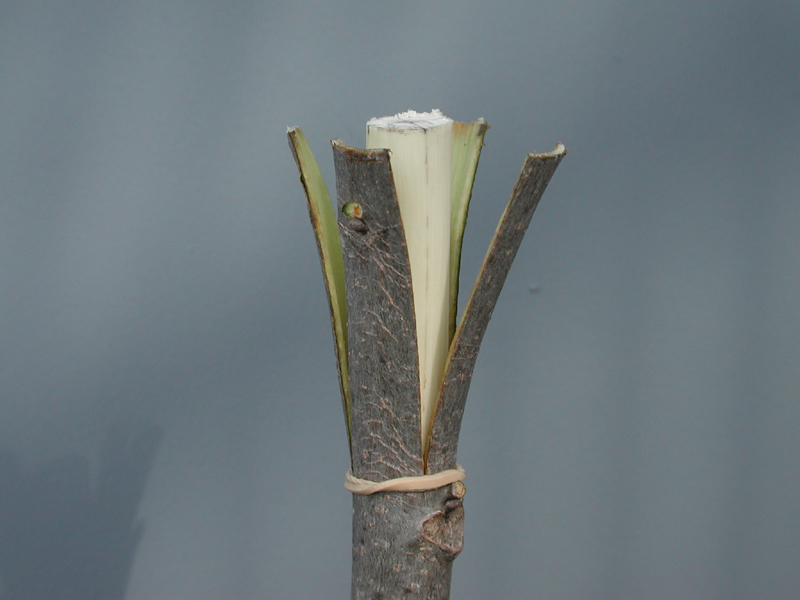
At the point that you plan to make the graft, cut the top of the plant off straight across the stock with sharp pruning shears. Wrap a rubber band around the cut-off stock and roll it down the stock about 3 inches. Make four straight vertical incisions through the bark of the stock, each about 1.5 inches long and equally spaced around the stock. Beginners may find it helpful to mark a cross on the cut surface of the stock to show exactly where the vertical incisions must be made. Be sure that the incisions completely penetrate to the underlying wood.
 |
 |
|
Stock marked for the vertical cuts. |
Side view of vertical incisions. |
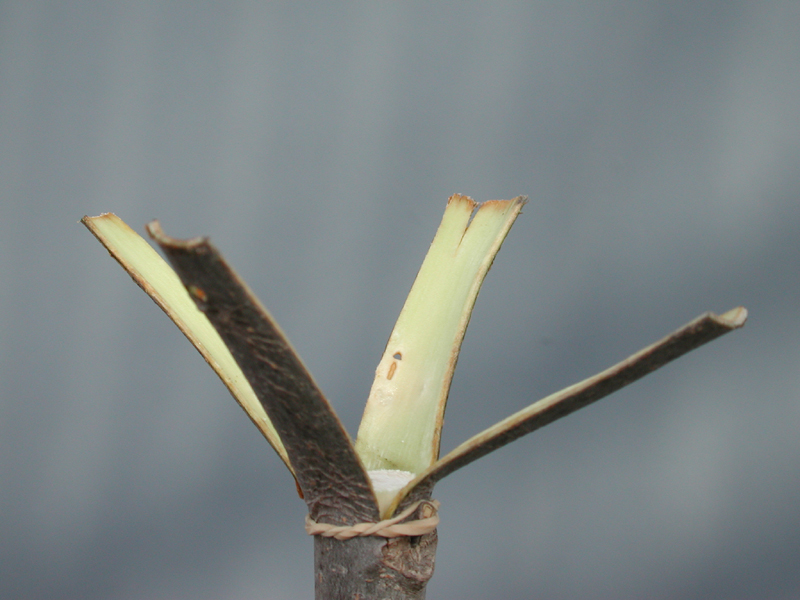
Separate the bark flaps from the wood briefly to assure that the bark is slipping, then slip the rubber band up onto the bark flaps to hold them against the stock and prevent drying while the scion is being prepared.
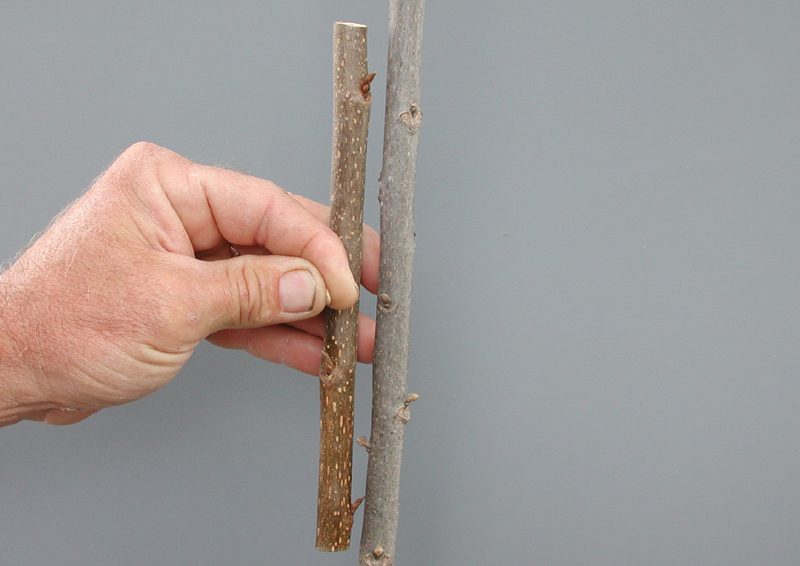
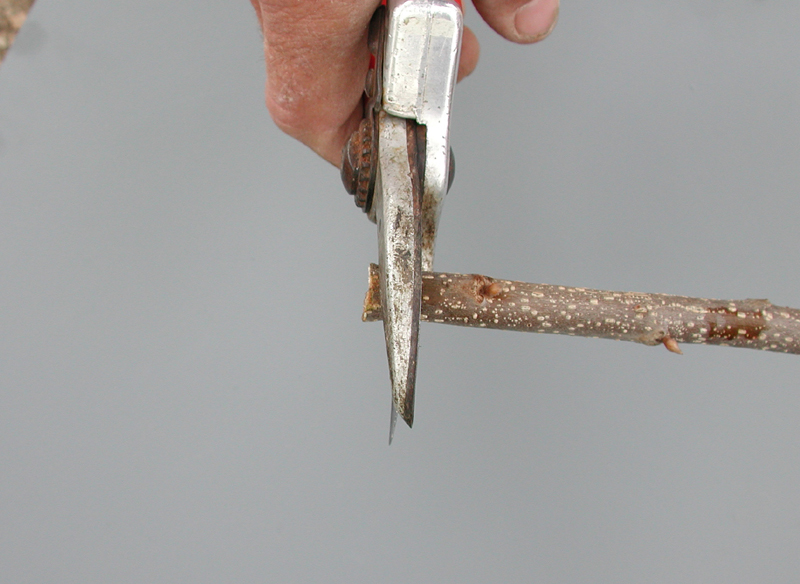
Select a smooth, straight graft stick of the appropriate diameter and about 6 inches long. It should have two or three plump buds on the upper half. Cut off about half an inch of the base of the graft stick to assure healthy green tissue. If the wood is brown or shriveled, indicating dryness from improper storage, do not use it.
 |
 |
|
Bark flaps pulled away. |
Comparison of stock and scion sizes. |
 |
 |
|
Typical pecan graft stick. |
Cut off the base of the graft stick. |
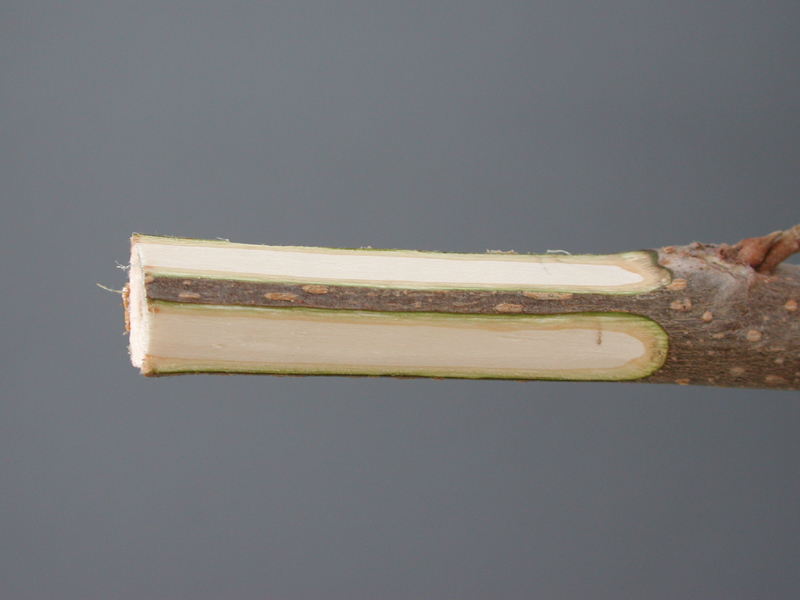
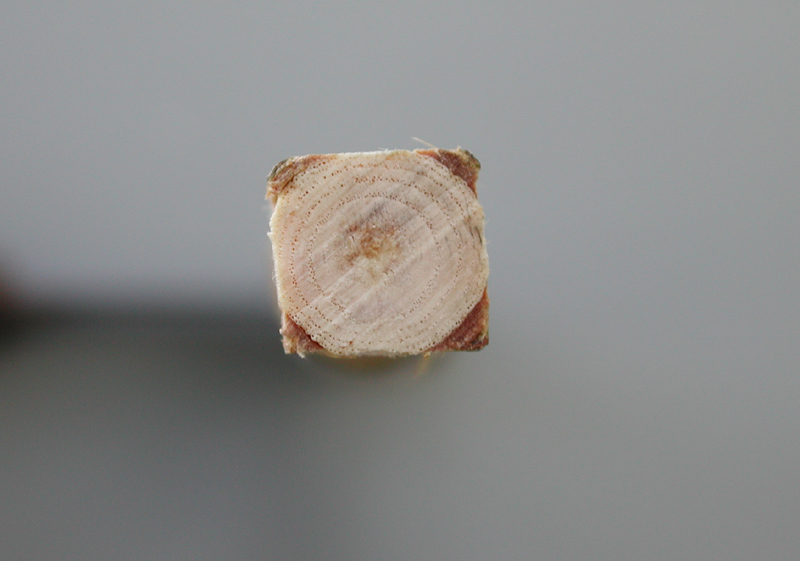
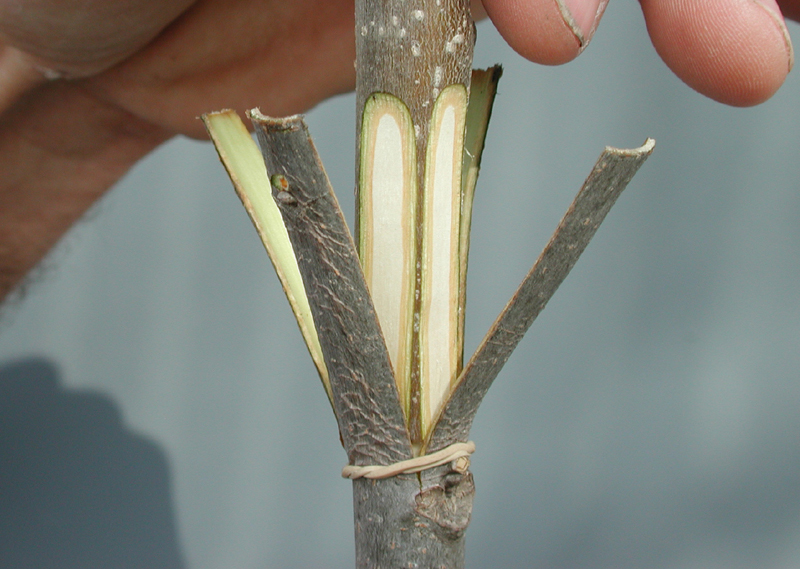
With a sharp knife, cut the graft stick on four sides, starting about 1.5 inches above the basal end and slicing towards it. Before attempting this for the first time, look at the images showing both side and end views of the prepared scion so you will know how the finished scion should look. Basically, the cuts will create a square-shaped end , with four inch-and-a-half long, thin slivers of bark (and cambium) remaining at each corner.
 |
 |
|
Side view of the prepared scion. |
End view of the prepared scion. |
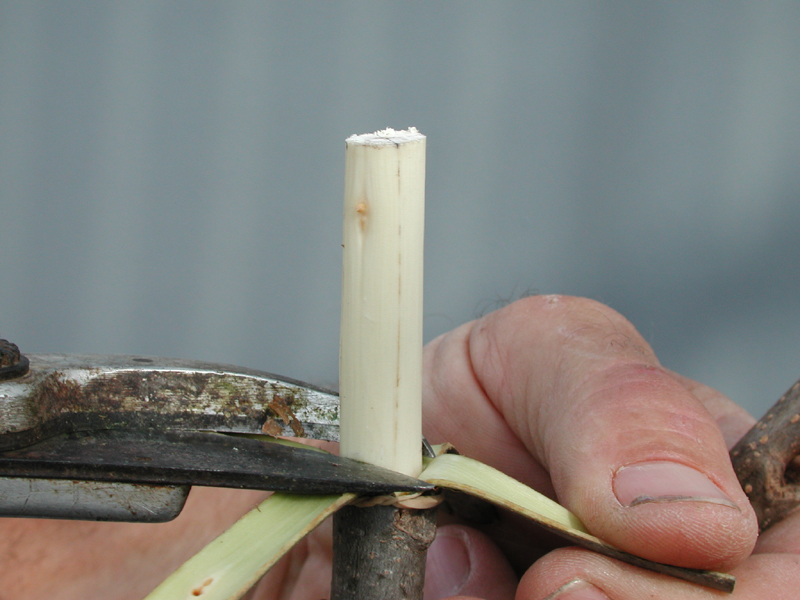
Now that the scion is prepared, roll the rubber band back down on the stock so that the bark flaps can be pulled down. Some propagators find it helpful to pull the flaps down against the stock and hold them there by rolling the rubber band up on them. Either way, carefully position the pruning shears and cut off the upper 1.5 inches of the exposed stock without damaging the four bark flaps.
 |
 |
|
Preparing to remove the stock top. |
Stock ready for insertion of the scion. |
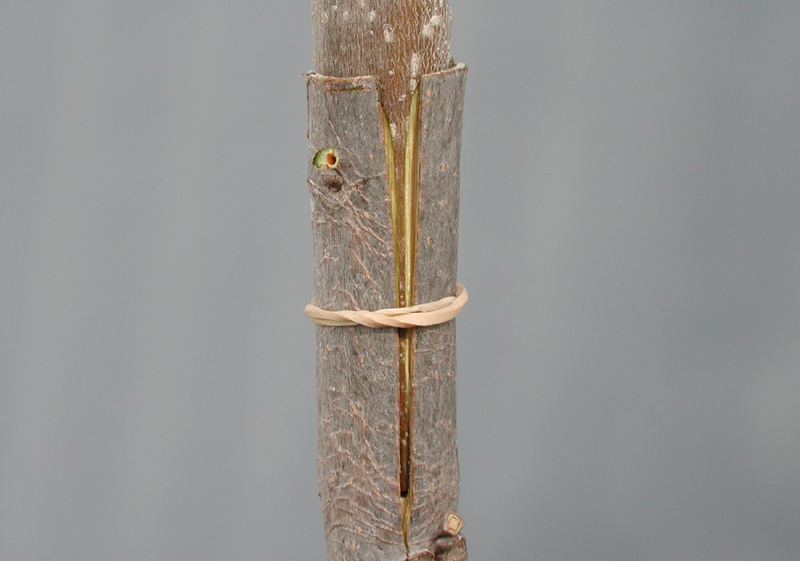
Place the prepared scion upright on the stock, pull the four bark flaps back up against the scion, and roll the rubber band up onto the flaps to hold them and the scion in place. Be sure that the thin slivers of bark on the scion are situated in the openings between adjacent flaps of the stock-if not, gently twist the scion until they are.
 |
 |
|
Orientation of the scion on the stock. |
Flaps closed with a rubber band. |
Wrap the entire cut area of the stock and lower part of the scion firmly with budding tape, floral tape or other suitable material that stretches. Neither masking tape, packing tape nor electrical tape is adequate. Be careful not to twist the bark flaps as you make the wraps. Wrapping is started at the bottom, each turn overlapping the previous one until all cut surfaces are covered. Secure the end of the tape by tucking it under the last wrap before you pull it tight. Some propagators prefer to wrap to the top, then wrap back down, but such double wrapping is not absolutely essential with strong budding tape.
 |
 |
|
Securely taped graft. |
Aluminum foil in place. |
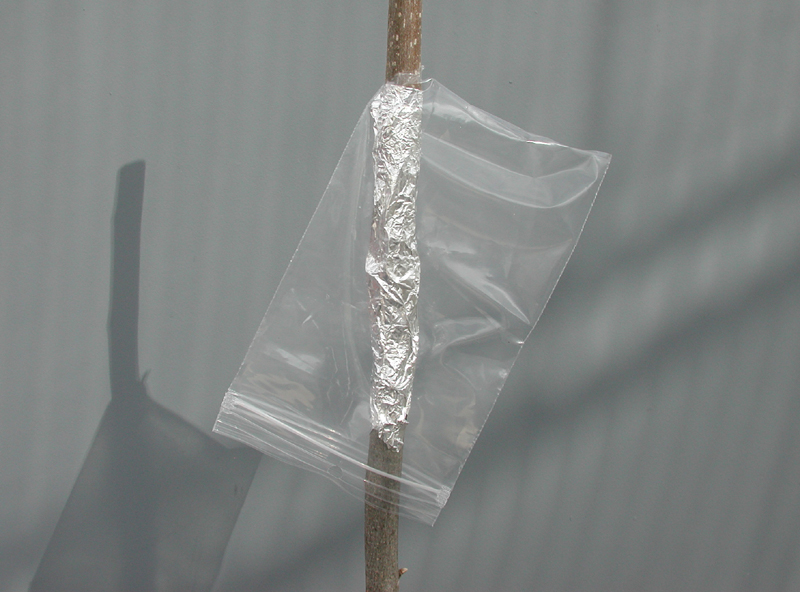
Cut a piece of aluminum foil to the appropriate size and loosely cover the entire taped area, crimping it slightly to compress it around the graft and hold it in place. Aluminum foil will reflect sunlight and prevent the graft union from getting too hot.
Cut off one corner of a pint or quart polyethylene freezer bag and carefully slip it down over the graft, with the scion protruding through the cut-off corner of the bag. Be extremely careful not to break off the scion buds while this is being done. Tie the cut-off corner of the bag to the scion at the top of the aluminum foil wrap, below the lowest bud on the scion. Then tie the lower part of the bag firmly around the stock near the lower edge of the foil wrap. In both cases, the ties should be atop the foil, as no exposed wood should be covered by the bag. These ties should be with budding tape, rubber band strips, or other material that will stretch.
 |
 |
|
Bag positioned over graft. |
Bag secured top and bottom. |
Coat the tip of the scion with a dab of glue to prevent its drying out while the graft heals.
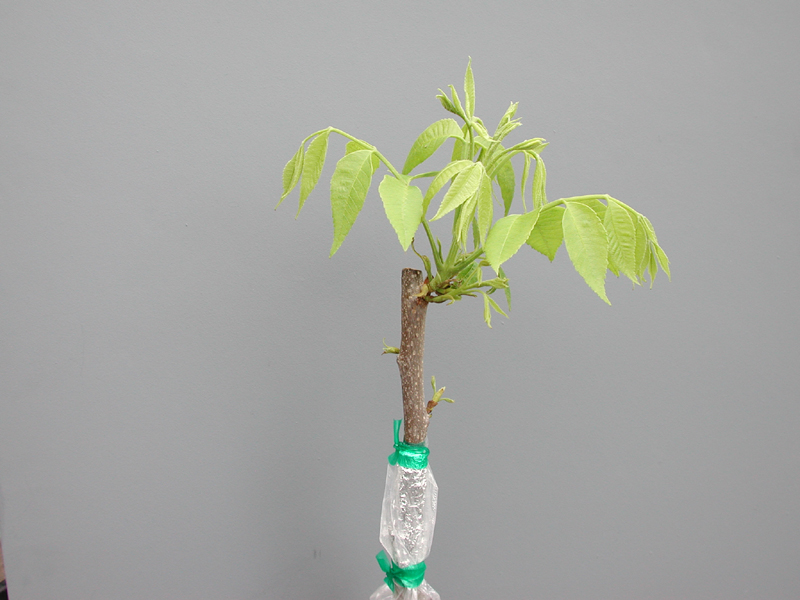
Generally, the buds on the scion will begin to grow in 3 to 6 weeks. All wrapping materials should remain in place for another 4 to 6 weeks after the scion buds begin to grow, at which time the ties, the bag, and the foil may be removed.
 |
 |
|
Scion end covered with glue. |
Early growth of the scion buds. |
In addition to the growth of the scion buds, a number of buds along the stock will also grow. To aid in the recovery of the tree, these shoots on the stock should be maintained, but they must be kept pruned back to preclude their overgrowing the new scion. The simplest means to control them is to pinch off or cut off their tips periodically as necessary during the rest of the season.
 |
 |
|
Completely healed graft. |
Growth of the new tree. |
Healing of the graft union is quite rapid as compared to some other grafting methods. You can easily distinguish the union by noting the different appearances of the bark of the stock and the scion. After 2 or 3 years, the trashy branches along the stock should be completely removed. Too, the scion should be trimmed to leave only one single, strong shoot to develop into the new tree.